
Hyundai Tucson: Fuel Delivery System / Fuel Line

• Be careful not to damage the parts located under the vehicle (floor under cover, canister, fuel tank) when raising the vehicle using the lift.(Refer to General Information - "Lift and Support Points")
1.Release the residual pressure in fuel line.(Refer to Fuel Delivery System - "Release Residual Pressure in Fuel Line")
2.Turn the ignition switch OFF and disconnect the negative (-) battery terminal.
3.Remove the battery and battery tray.(Refer to Engine Electrical System - "Battery")
4.Remove the air cleaner.(Refer to Engine Mechanical System - "Air Cleaner")
5.Disconnect the fuel feed line quick-connector (A).
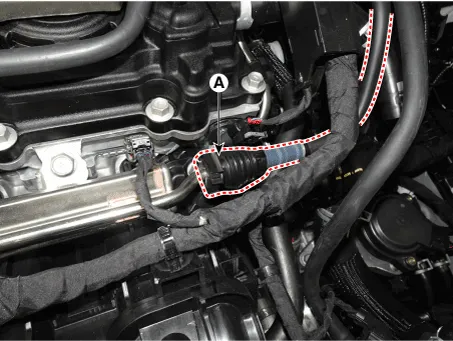

• Open the clamp cover (B) before disconnecting the quick-connector. (If the clip is applied)
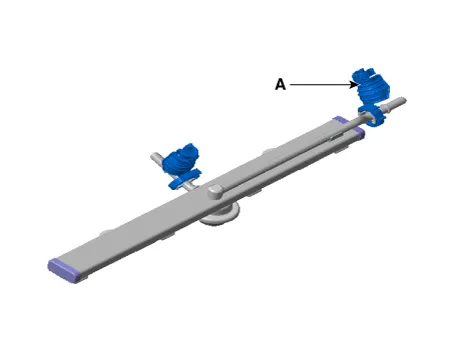

• When removing the quick-connnector with the clip removing tool (A), be careful not to damage the plastic clip (B).
• If the clip is damaged, fuel line leak can be occurred due to a bad connection.
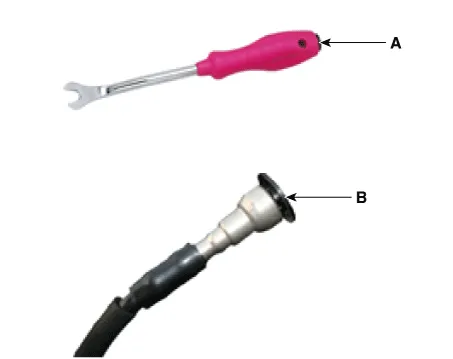
6.Disconnect the vapor hose (A) which is connected from the purge control solenoid valve.
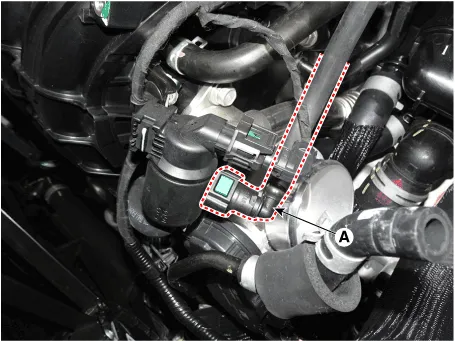
7.Open the vapor hose and fuel feed line fixing clip (A, B) to using driver.
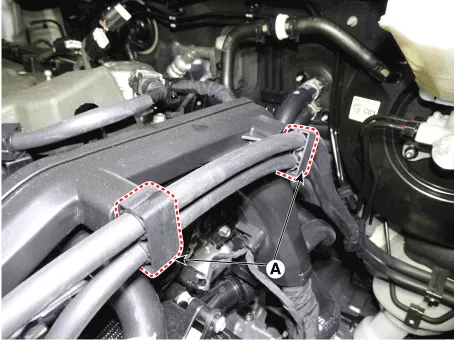
8.Lift the vehicle.
9.Remove the fuel tank.(Refer to Fuel Delivery System - "Fuel Tank")
10.Remove the engine room rear under cover (A).
Tightening Torque :7.9 - 11.8 N·m (0.8 - 1.2 kgf·m, 5.8 - 8.7 lb·ft)
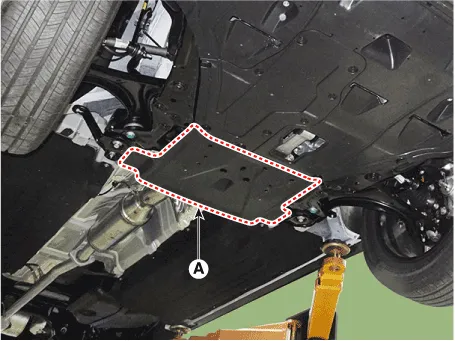
11.Remove the fuel line protector (A).
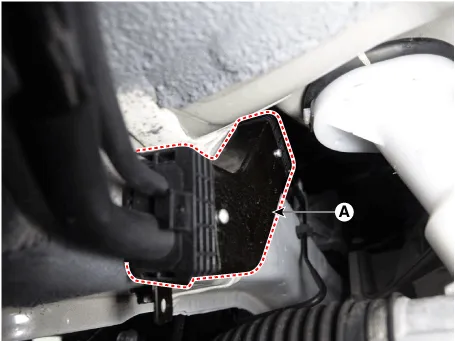
12.Disconnect the vapor hose quick-connector (A).
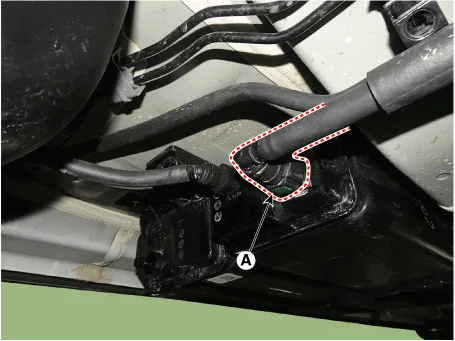
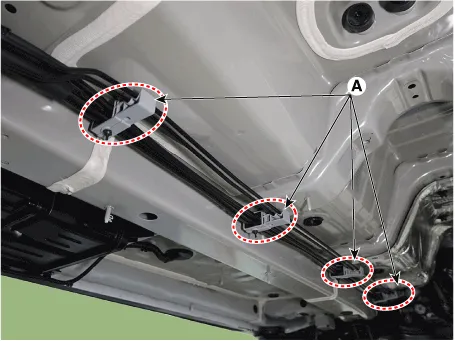
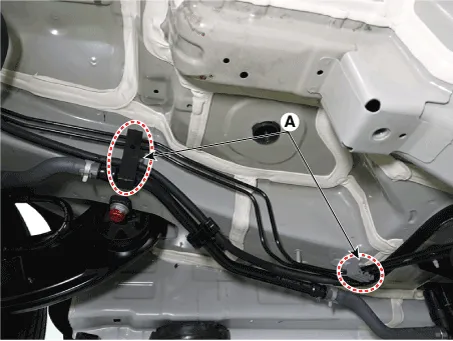
13.Release the fixing clip (A) of the vapor, fuel feed tube and brake line using a driver.
14.Remove the fuel line from the bottom of the vehicle.
1.Release the residual pressure in fuel line.(Refer to Fuel Delivery System - "Release Residual Pressure in Fuel Line")
2.Turn the ignition switch OFF and disconnect the negative (-) battery terminal.
3.Remove the air cleaner.(Refer to Engine Mechanical System - "Air Cleaner")
4.Disconnect the vacuum hose (A).
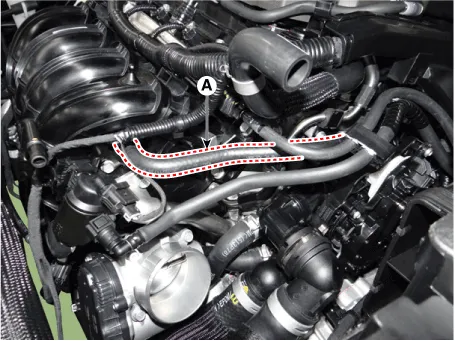
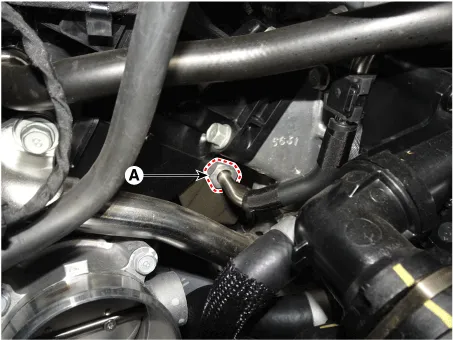
5.Remove the high pressure fuel pipe flange nut (A).
Tightening Torque :29.4 - 35.3 N.m (3.0 - 3.6 kgf.m, 21.7 - 26.0 lb-ft)
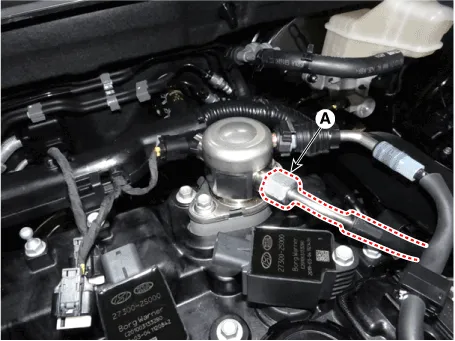
6.Loosen the high pressure fuel pipe flange nut (A) using the SST (09314-L1100).
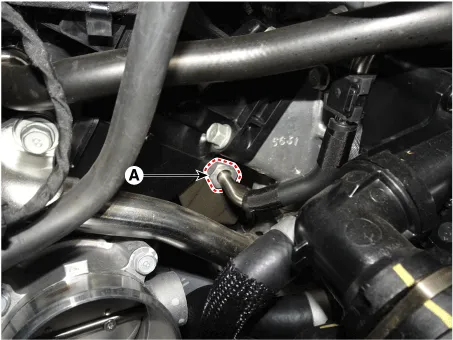
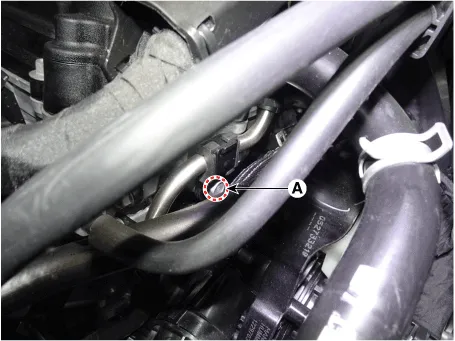
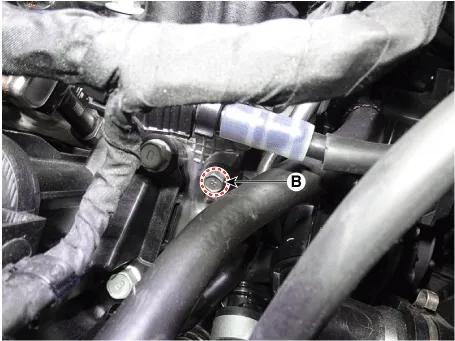
7.Loosen the bolt (A, B) and then remove the high pressure fuel pipe.
Tightening Torque :9.8 - 11.8 N.m (1.0 - 1.2 kgf.m, 7.2 - 8.7 lb-ft)
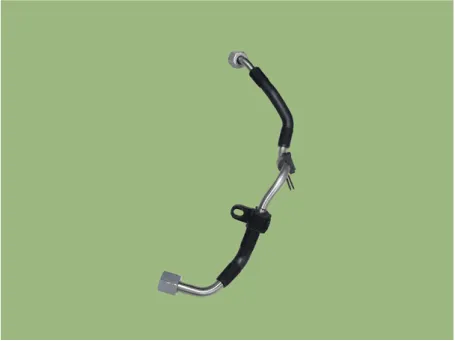
1.Install in the reverse order of removal.

• When tighten the high pressure fuel pipe flange nut (A), using the SST (09314-L1100).
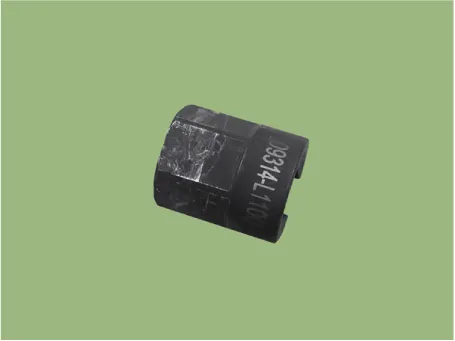
• Using a spanner torque wrench (27mm).
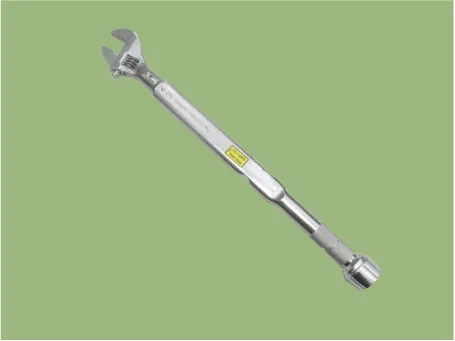
• Note that do not deforming the high pressure fuel pipe.
• Install the component with the specified torques.
• Install the high pressure fuel pipe and then check the oil leakage.
• When Installing the high pressure fuel pipe, using a SST (SST No. : 09314-L1100).
 Fuel Pressure Regulator
- Removal
1.Remove the fuel pump.(Refer to Fuel Delivery System - "Fuel Pump")
2.Disconnect the fuel sender connector (A).
3.Release the fixing hook (A) and then remove fuel sender (B) in the ...
 Filler-Neck Assembly
- Removal
• Be careful not to damage the parts located under the vehicle
(floor under cover, canister, fuel tank) when raising the vehicle using
the lift.(Refer to General ...
Other information:
Hyundai Tucson (NX4) 2022-2026 Service Manual: Curtain Airbag (CAB) Module
- Description
Curtain airbags are installed inside the headliner (LH and RH) and
protect the the heads of the front seat occupants and the rear outboard
seat occupants from danger when side crash occurs. The SRSCM determines
deployment of curtain airbag by using side impact sensor (SIS) sig ...
Hyundai Tucson (NX4) 2022-2026 Service Manual: Surround View Monitor (SVM) Camera
- Components
[Ultra Optical Camera - RH/LH]
[Ultra Optical Camera - Front]
[Ultra Optical Camera - Rear]
- Removal
• In case of bad quality or poor focus, be sure to check the camera lense surface condition and foreign materials.
SVM Front Camera
1.Discon ...
