
Hyundai Tucson: Smart Key System / Smart Key Diagnostic
1.Problem in SMART KEY unit input.
2.Problem in SMART KEY unit.
3.Problem in SMART KEY unit output.
So the following three diagnosis operates will be the major problem solution process.1.SMART KEY unit Input problem : switch diagnosis
2.SMART KEY unit problem : communication diagnosis
3.SMART KEY unit Output problem : antenna and switch output diagnosis
1.In the body electrical system, failure can be quickly diagnosed by using the vehicle diagnostic system (diagnostic tool).The diagnostic system(diagnostic tool) provides the following information.
(1)Fault Code Searching : Checking failure and code number (DTC)
(2)Data Analysis : Checking the system input/output data state
(3)Actuation test : Checking the system operation condition
(4)S/W Management : Controlling other features including system option setting and zero point adjustment
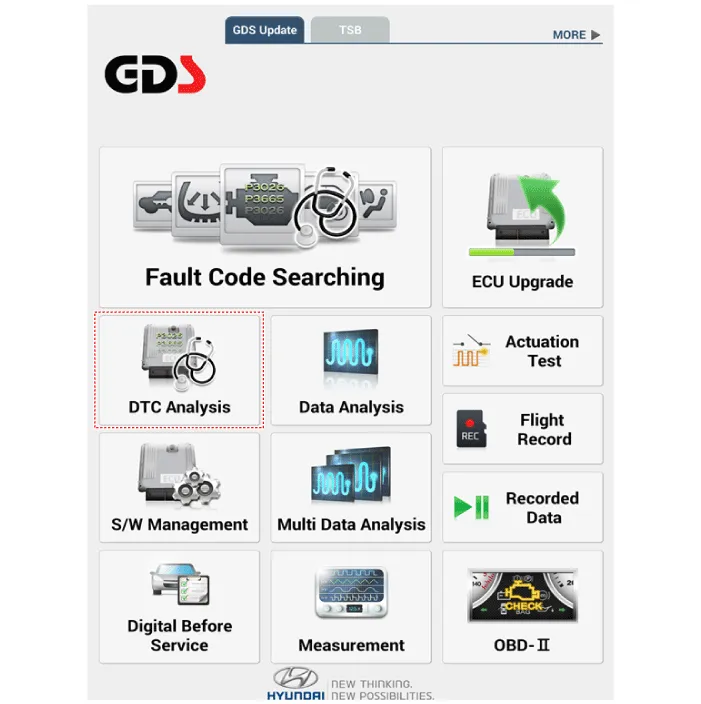
2.If diagnose the vehicle by diagnostic tool, select "DTC Analysis" and "Vehicle".
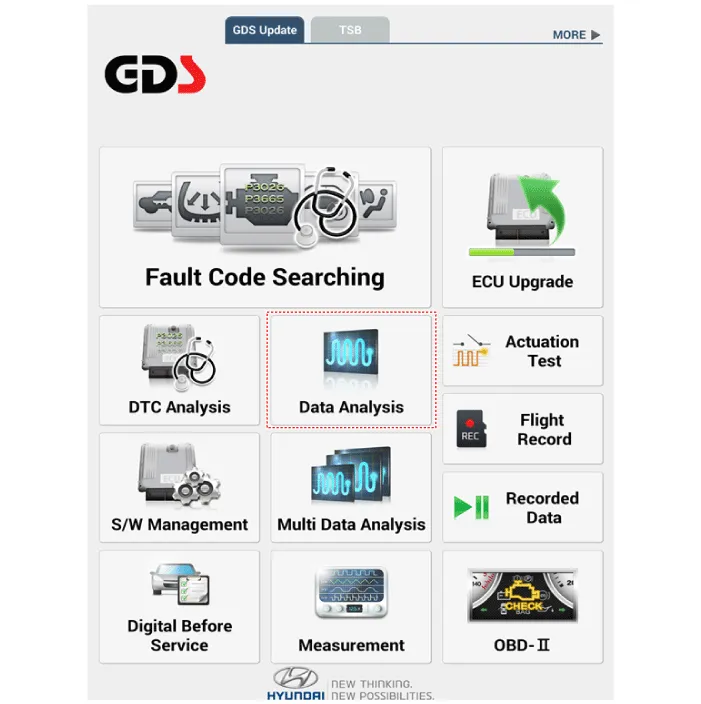
3.If check current status, select the "Data Analysis" and "Car model".
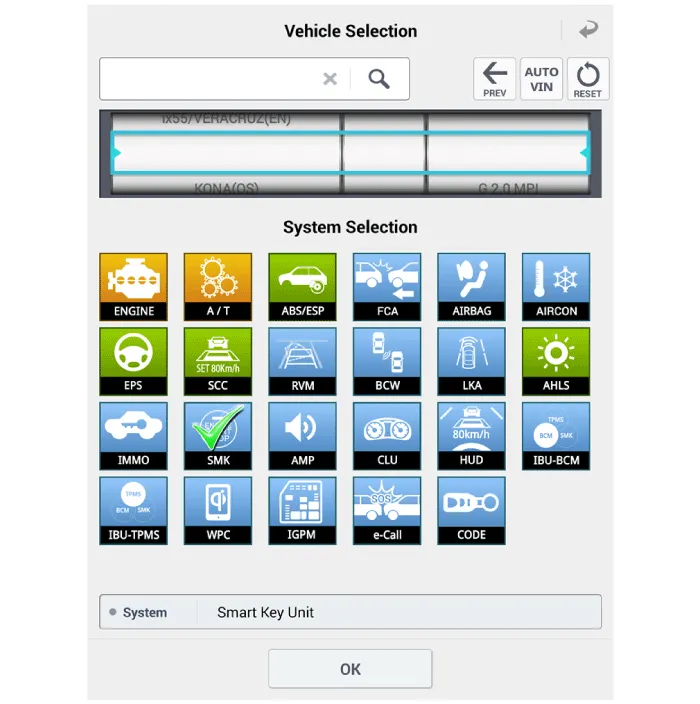
4.Select the SMK' to be checked in order to check the vehicle with the tester.
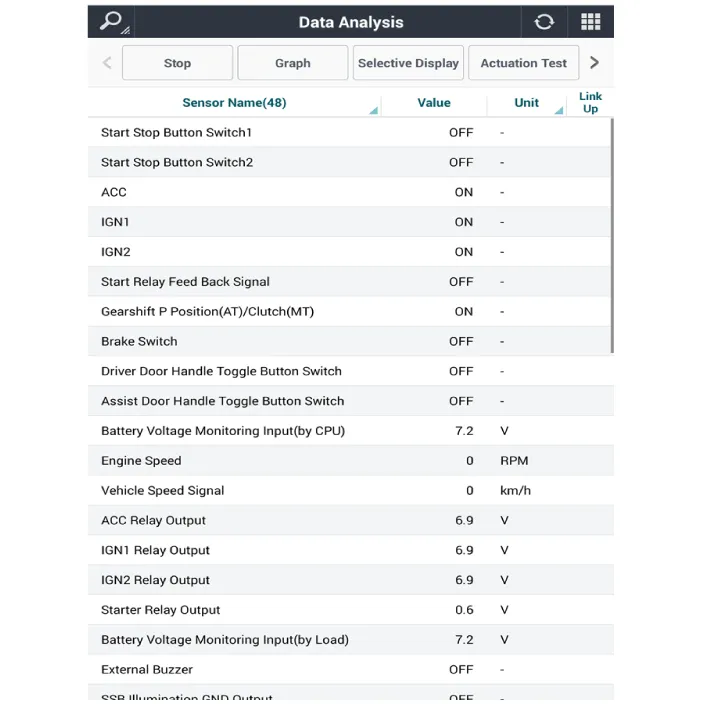
5.You can see the situation of each switch on scanner after connecting the "current data" process.
| Display | Description |
| FL Toggle SW | ON : Push button is ON in the driver door handle. |
| FR Toggle SW | ON : Push button is ON in the assist door handle. |
| Liftgate open SW | ON : Liftgate button is ON. |
| Gear P Position | ON : Shift lever is P position. |
| IGN 1 | ON : IGN switch is IG position. |
| ACC | ON : IGN switch is ACC position. |
| Brake SW | ON : Brake switch is ON. |
1.Fault code searching that the each linked components operates normal.
2.Connect the cable of diagnostic tool to the data link connector in driver side crash pad lower panel.
3.Select the 'Fault Code Searching' and 'Car model'.
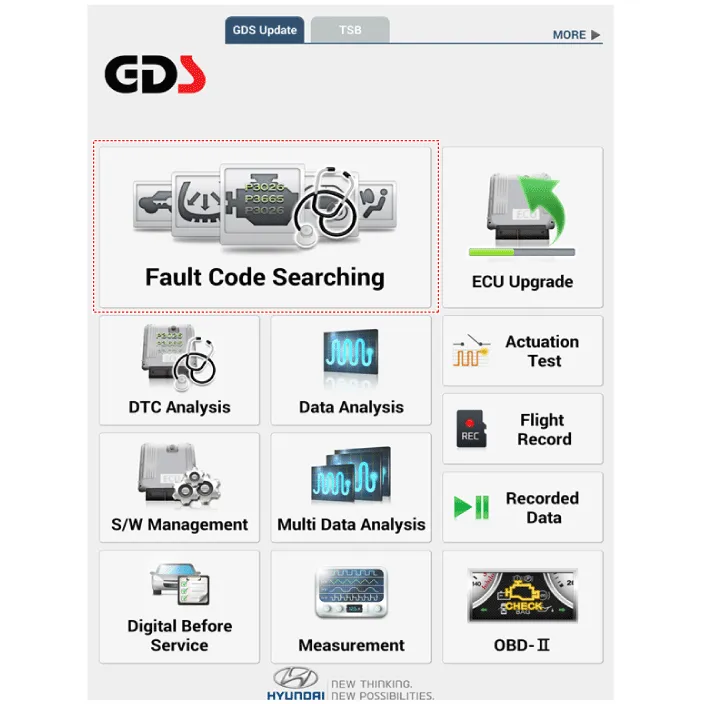
1.Connect the cable of diagnostic tool to the data link connector in driver side crash pad lower panel.
2.Select the 'Actuation Test' and 'Car model'.
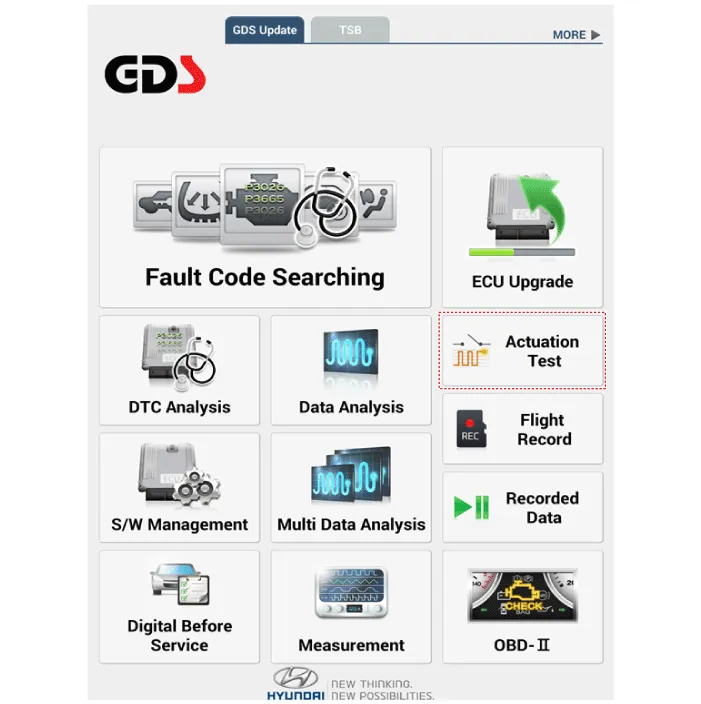
3.Set the smart key near the related antenna and operate it with a diagnostic tool.
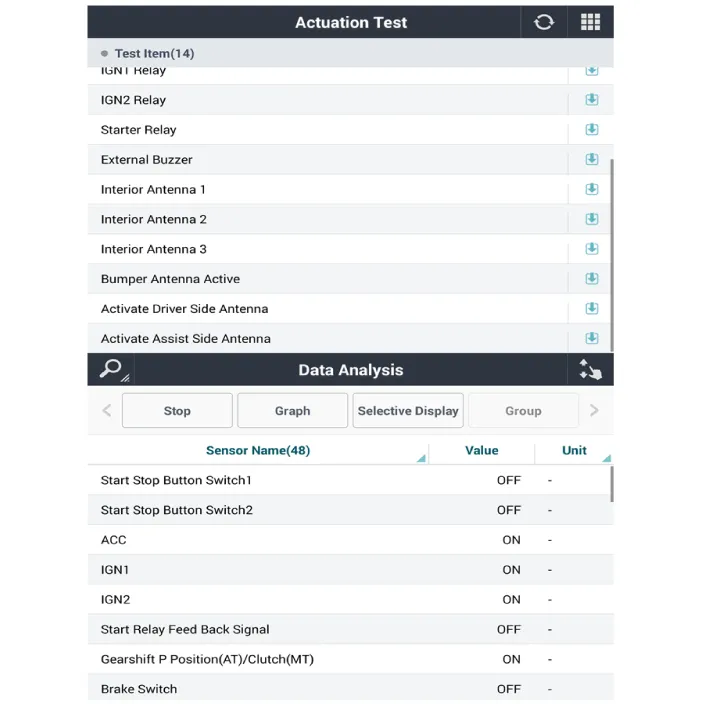
4.Set the smart key near the related antenna and operate it with a diagnostic tool.
5.If the LED of smart key is blinking, the smart key is normal.
6.If the LED of smart key is not blinking, check the voltage of smart key battery.
7.Antenna actuation
– Interior Antenna 1
– Interior Antenna 2
– Bumper Antenna
– Driver Door Antenna
– Assist Door Antenna
1.Connect the cable of diagnostic tool to the data link connector in driver side crash pad lower panel.
2.Select the 'S/W Management' and 'Car model'.
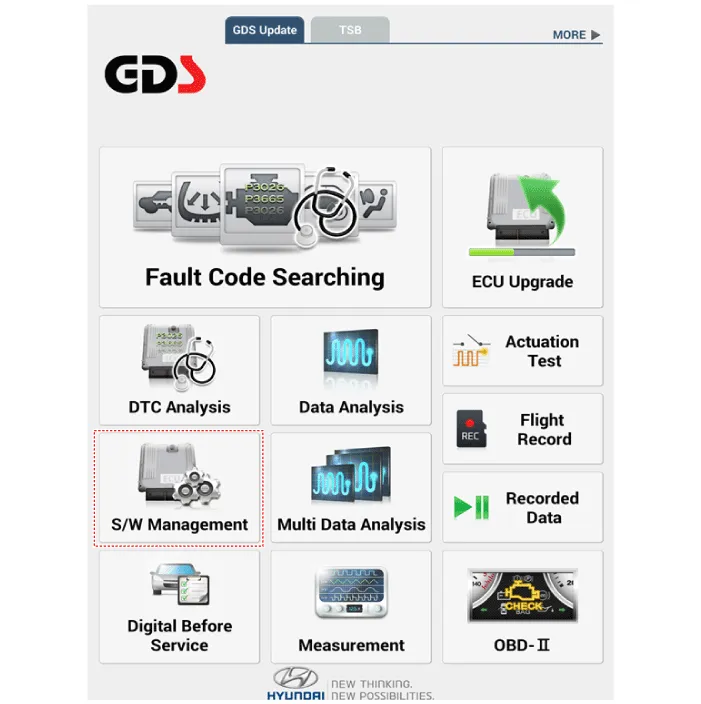
3.Select the 'Smart Key Unit' and 'Antenna Status Check'.
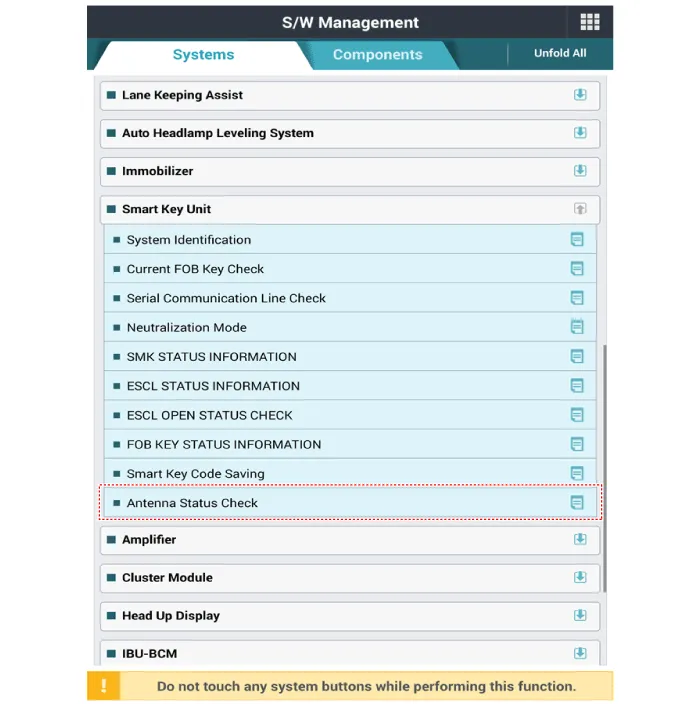
4.Set the smart key near the related antenna and operate it with a diagnostic tool.
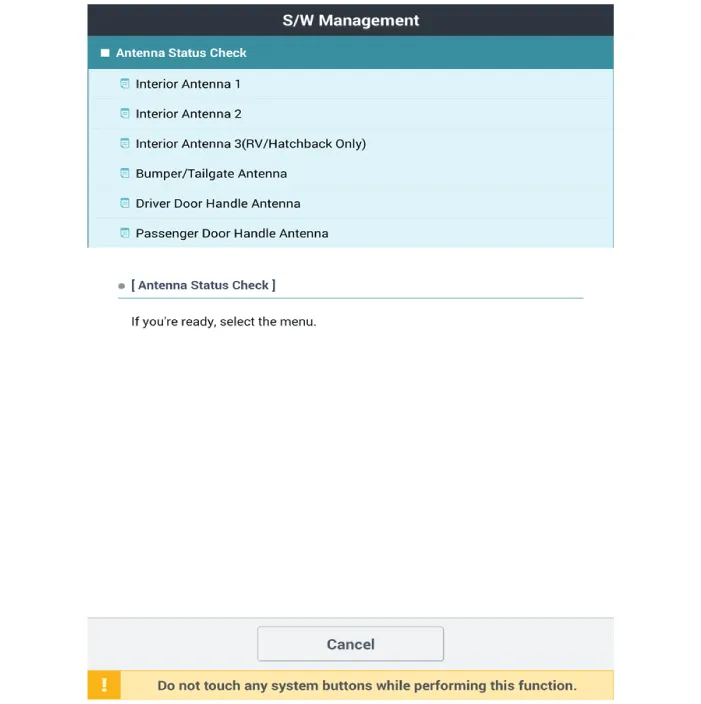
5.If the smart key runs normal , the related antenna, smart key(transmission, reception) and exterior receiver are normal.
6.Antenna status
– Interior Antenna 1
– Interior Antenna 2
– Bumper Antenna
– Driver Door Antenna
– Assist Door Antenna
1.Connect the cable of diagnostic tool to the data link connector in driver side crash pad lower panel.
2.Select the 'S/W Management' and 'Car model'.
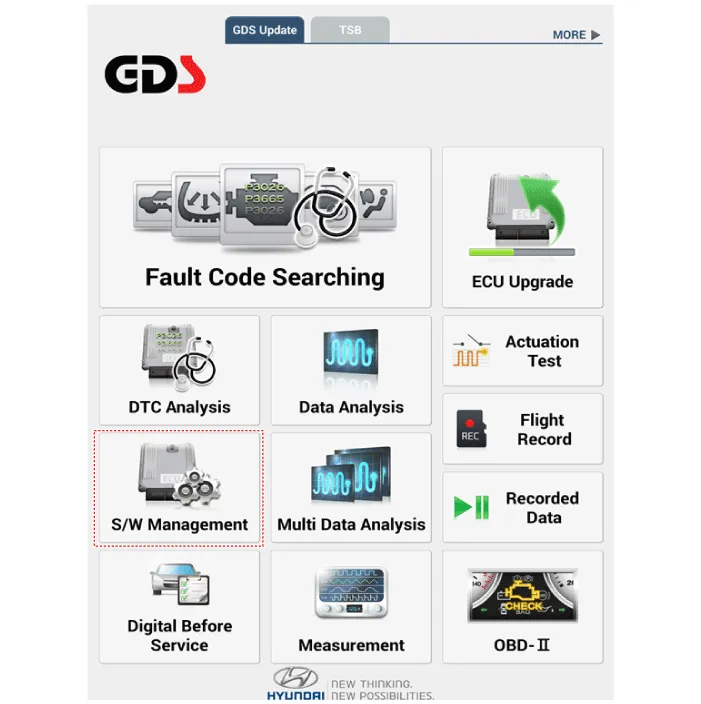
3.Select the 'Smart Key Unit' and 'FOB KEY STATUS IMFORMATION'.
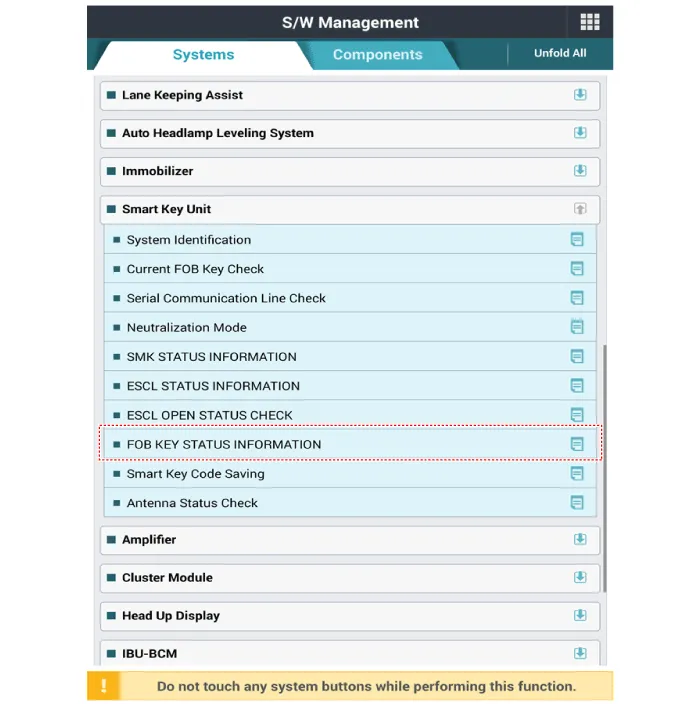
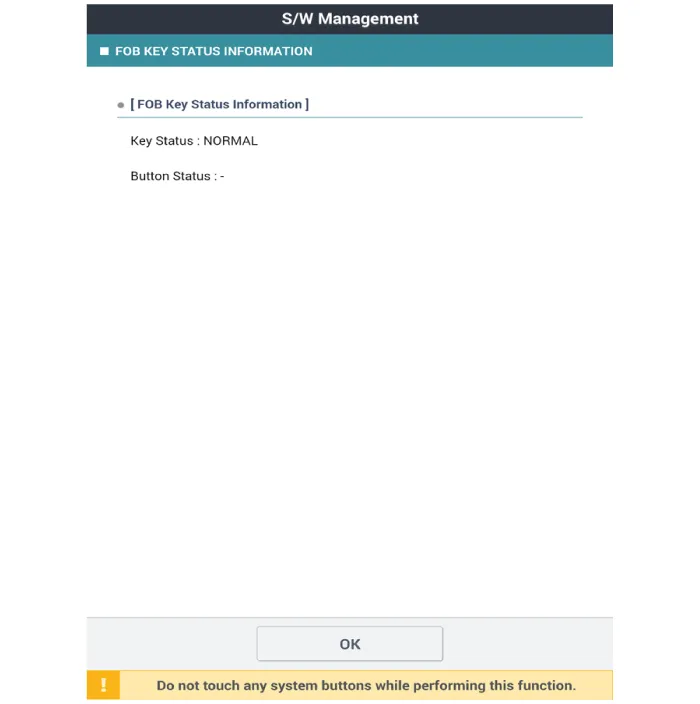
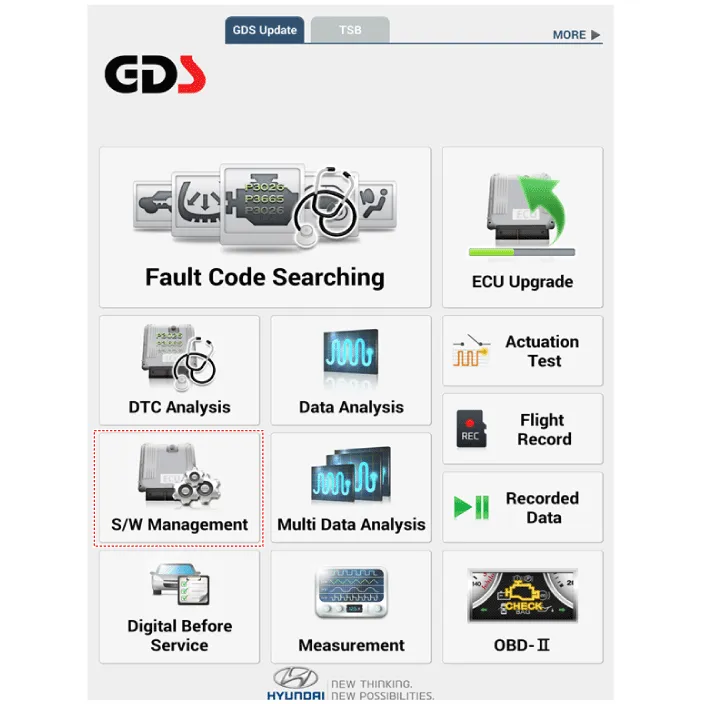
1.Connect the cable of diagnostic tool to the data link connector in driver side crash pad lower panel.
2.Select the 'S/W Management' and 'Car model'.
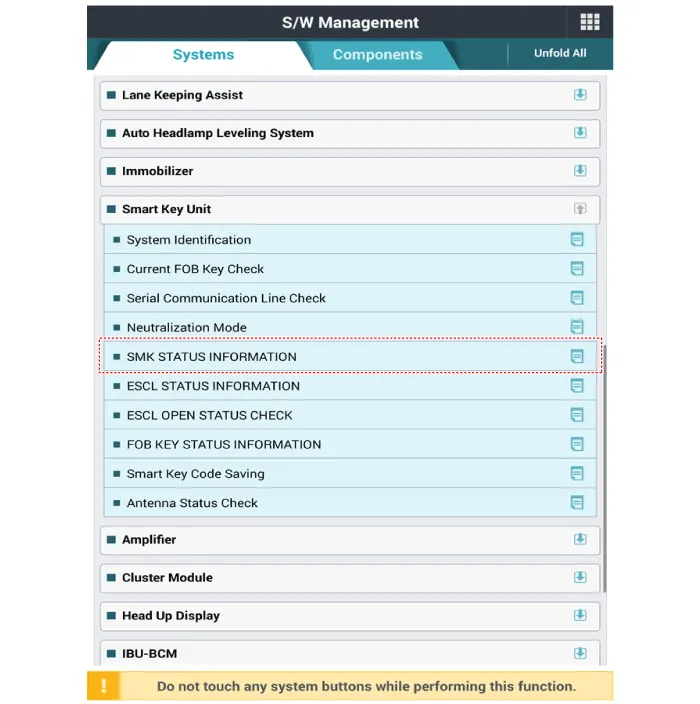
3.Select the 'Smart Key Unit' and 'SMK STATUS INFORMATION'.
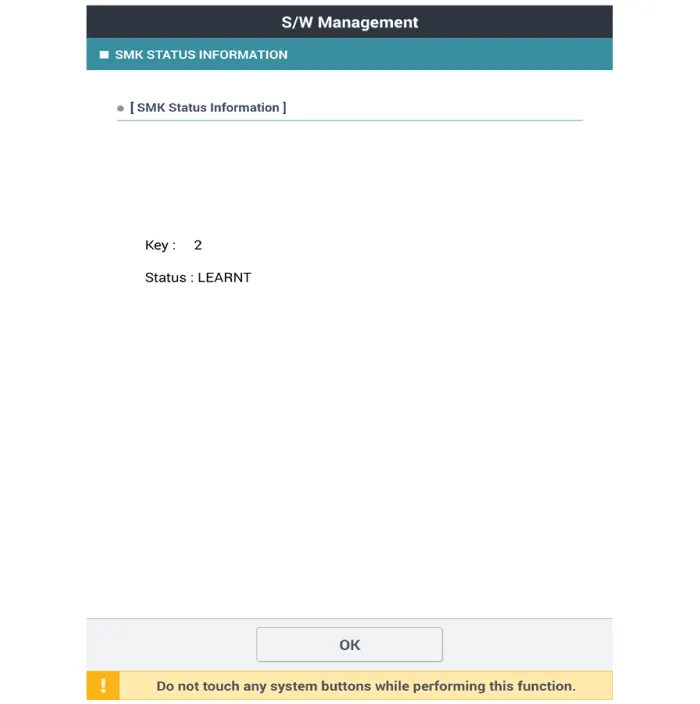
1.Connect the cable of diagnostic tool to the data link connector in driver side crash pad lower panel.
2.Select the 'S/W Management' and 'Car model'.
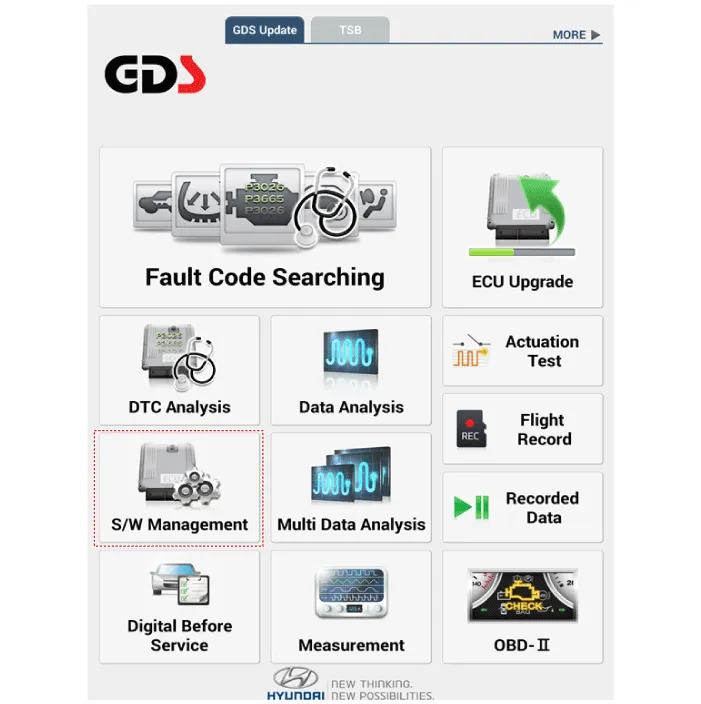
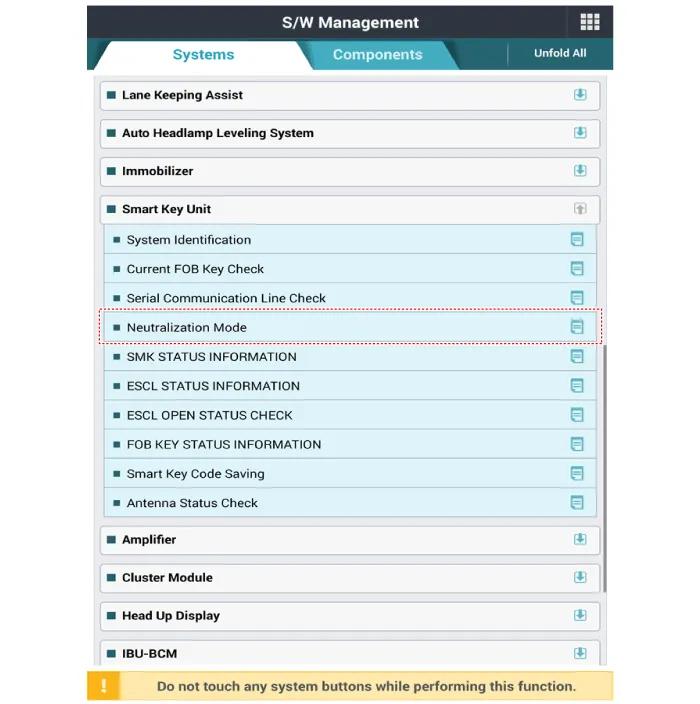
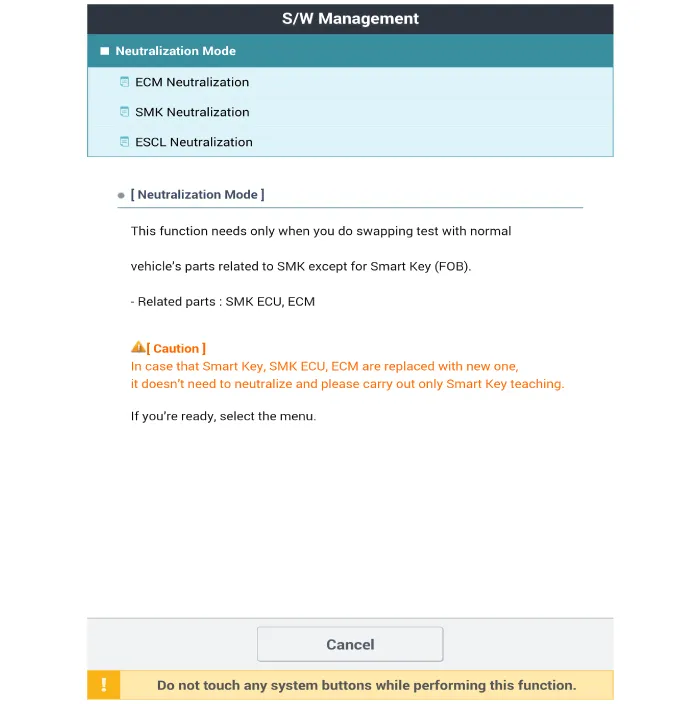
3.Select the 'Smart Key Unit' and 'Neutralization Mode'.
 Specifications
- Specifications
Smart Key Unit (IBU)
ItemsSpecification
Rated voltageDC 12V
Operating voltageDC 9 ~ 16V
Operating temperature-30°C ~ 75°C
LoadMax. 4.0mA (When welcome light function off)(2. ...
 Smart Key
- Smart Key
Smart Key Code Saving
1.Connect the DLC cable of diagnostic tool to the data link connector
(16 pins) in driver side crash pad lower panel, turn the power on
diagnostic tool.
2. ...
Other information:
Hyundai Tucson (NX4) 2022-2026 Owner's Manual: Temperature & Air intake control
Temperature control
The temperature increases by turning
the knob to the right. The temperature
decreases by turning the knob to the left.
Air intake control
To select outside (fresh) air or
recirculated air, press this button.
Recirculated air position
With the recirculated air
sel ...
Hyundai Tucson (NX4) 2022-2026 Service Manual: Repair procedures
- Adjustment
Inspect Glass Alignment
1.Inspect the step height between the roof panel (A) and the glass weatherstrip (B) and then adjust it if necessary.Alignment
adjustment Standard value [mm(in.)](1) Front edge : -1 ~ 0 mm (-0.04 ~ 0
in.)(2) Rear edge : 0 ~ 1 mm (0 ~ 0.04 in.)(3) Side edg ...
