
Hyundai Tucson: Coupling Assembly / Oil hydraulic Motor(Actuator)
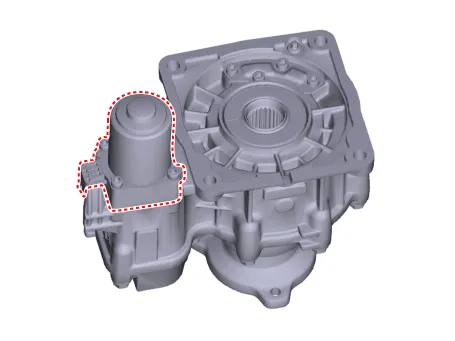
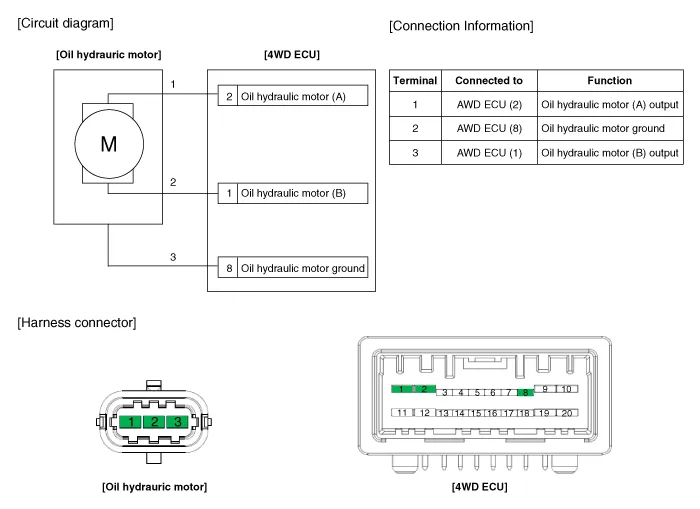

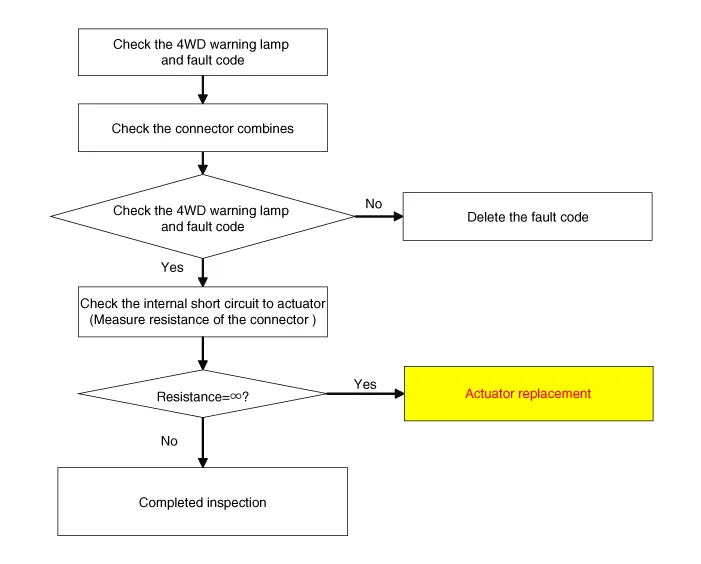
• If you have trouble code related to the oil hydraulic motor (actuator), check oil hydraulic motor (actuator) according to the inspection process.
Oil Hydraulic Motor (Actuator) Inspection Procedure

• Be careful not to damage the parts located under the vehicle (floor under cover, fuel filter, fuel tank and canister) when raising the vehicle using the lift.(Refer to General Information - "Lift and Support Points")
1.Remove the coupling assembly.(Refer to 4 Wheel Drive (4WD) System - "Direct Electro Hydraulic Actuator Coupling")
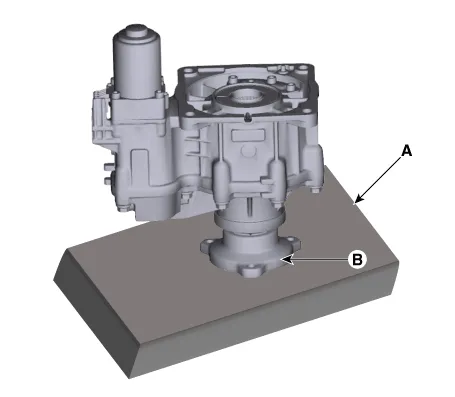
2.Keep going perpendicular state after remove the coupling assembly.

• Keep going perpendicular state during remove (install) the hydraulic motor (actuators).
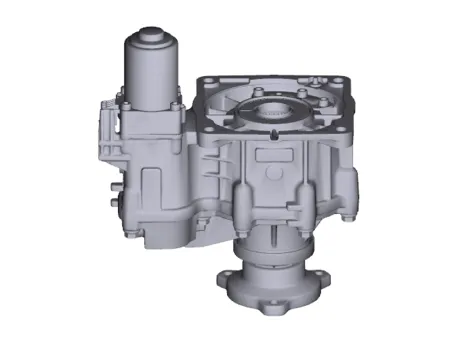
• Use a tool (A) that allows the auxiliary operator to hold or seat the coupling in a vertical position.
• So that the input shaft side (B) is not damaged.
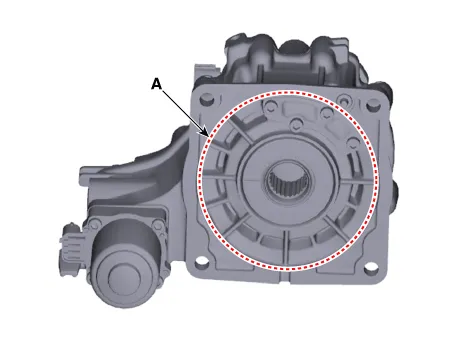
3.Remove the hydraulic motor (A) after loosening bolts with hex wrench.
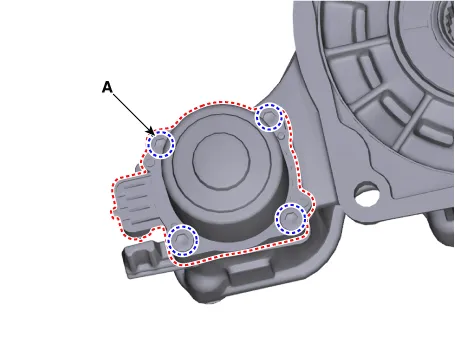

• Remove the hydraulic motor (actuators) after dropping residual oil as much as possible inside the coupling. (abut 5-10 sec)
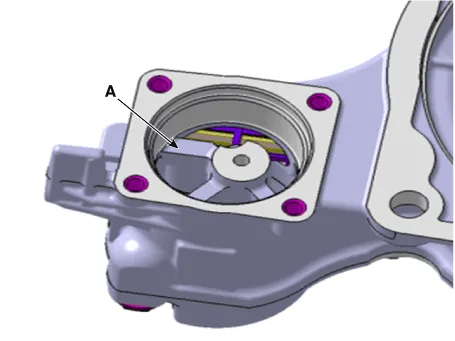
1.Before installation, wipe the surface with a clean cloth.
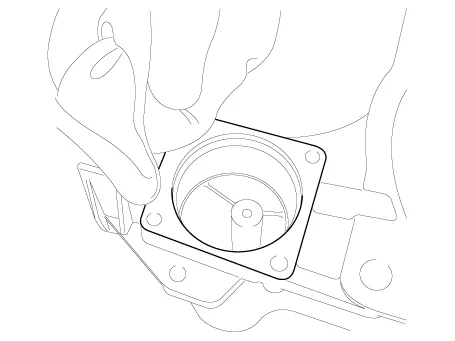
2.Check the O-rings (A) of the new hydraulic motor (actuators).
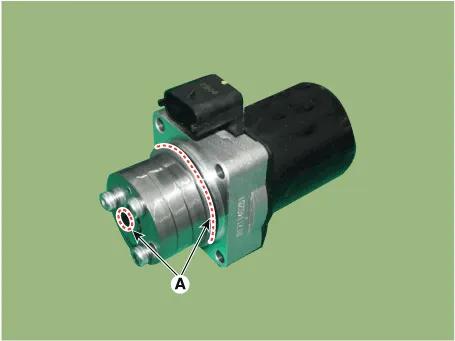

• You have to prevent any dust from entering inside hydraulic motors (actuators) and housing.
3.Tighten the bolts after install the hydraulic motor.

• When installing, motor connector (A) has to toward in the direction of outside of the coupling.
Tightening torque:9.8 - 11.7 N·m (1.0 - 1.2 kgf·m, 7.2 - 8.6 lb·ft)
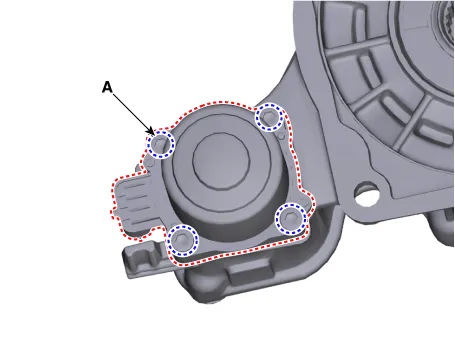

• When installing, oil can be reflux by the pressure in air breather hole (A).
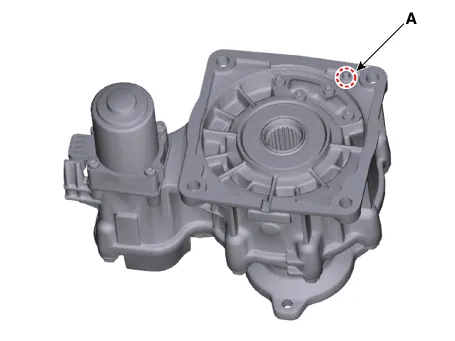
• Change direction in the direction of the arrow and lay on the floor as shown in the illustration. ※ The reflux oil will flow to the bottom.
• You have to prevent additional backflow in according to order as shown in the illustration.
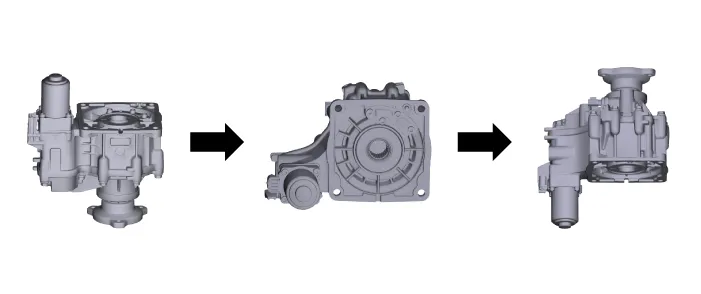
4.Wipe the flowed oil to around the surface with a clean cloth.
5.Install the coupling assembly.(Refer to 4 Wheel Drive (4WD) System - "Direct Electro Hydraulic Actuator Coupling")
 Direct Electro Hydraulic Actuator Coupling
- Description
4WD ECU processes signals from various sensors and determines the
current road and driving conditions. The ECU then utilizes this
information to implement precision control over ...
 Pressure Sensor
- Description
The 4WD ECU makes a Motor Pump(Actuator) turn round for generating an
oil pressure. And then it presses a multiple disk clutch and transfers
the generated torque into rear wheels. ...
Other information:
Hyundai Tucson (NX4) 2022-2026 Service Manual: Rear Shock Absorber
- Components
1. Lock nut2. Insulator assembly 3. Dust cover 4. Rear shock absorber
- Removal
• When lifting a vehicle using a lift, be careful not to damage
the lower parts of the vehicle (floor under cover, fuel filter, fuel
tank, canister).(Refer to General I ...
Hyundai Tucson (NX4) 2022-2026 Service Manual: Description and Operation
- Description
Surround View Monitor (SVM) is the system that allows video monitoring
of 360 degrees around the vehicle. The system includes 4 ultra optical
camera mounted around the vehicle (front, both sides, rear).The video
from these cameras are applied with distortion compensation, time ...
