
Hyundai Tucson: Engine Control System / Rail Pressure Sensor (RPS)
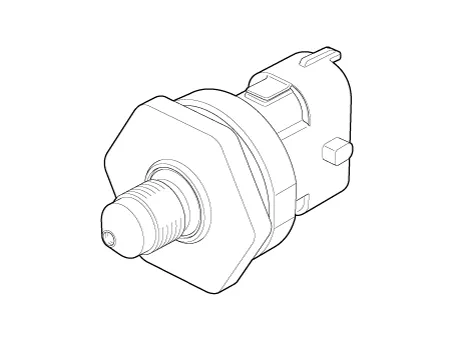
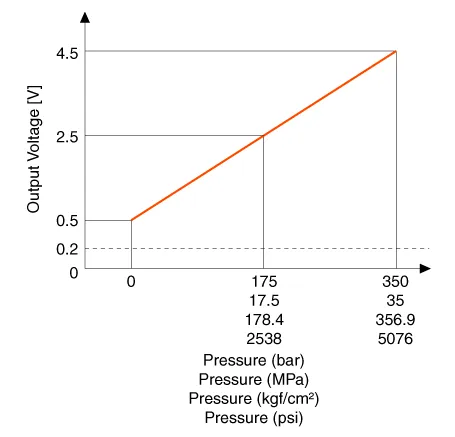
| Pressure | Output Voltage (V) [Vref = 5V] | |
| bar | [MPa (kgf/cm²,psi)] | |
| 0 | 0 (0, 0) | 0.5 |
| 175 | 17.5 (178.5, 2538.2) | 2.5 |
| 350 | 35 (356.9, 5076.3) | 4.5 |
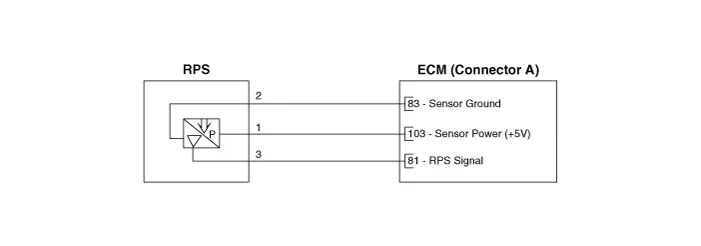
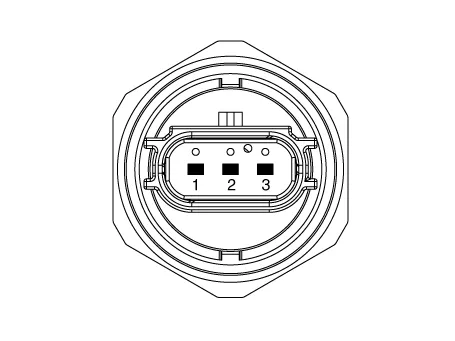
1.In the engine control system, failure can be quickly diagnosed by using the diagnosis tool.
(1)Self diagnosis : Checking failure and code number (DTC).
(2)Current data : Checking the system input/output data state.
(3)Actuation test : Checking the system operation condition.
(4)Additional function : Controlling other features including system option setting and zero point adjustment.
1.Check the rail pressure sensor waveform using the diagnosis tool.
Specification : Refer to "DTC Diagnosis Guide"
1.Turn the ignition switch OFF and disconnect the battery negative (-) cable.
2. Release the residual pressure in fuel line.(Refer to Fuel Delivery System - "Release Residual Pressure in Fuel Line")

• When removing the fuel pump relay, a Diagnostic Trouble Code (DTC) may occur. Delete the code with the diagnostic tool after completion of “Release Residual Pressure in Fuel Line� work.
3.Remove the intake manifold.(Refer to Engine Mechanical System - "Intake Manifold")
4.Disconnect the rail pressure sensor connector (A).
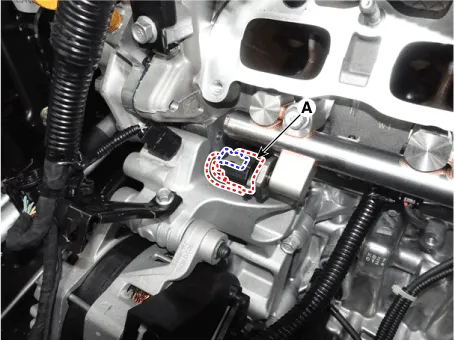
5.Remove the rail pressure sensor (A).
Tightening Torque :29.4 - 34.3 N.m (3.0 - 3.5 kgf.m, 21.7 - 25.3 lb-ft)
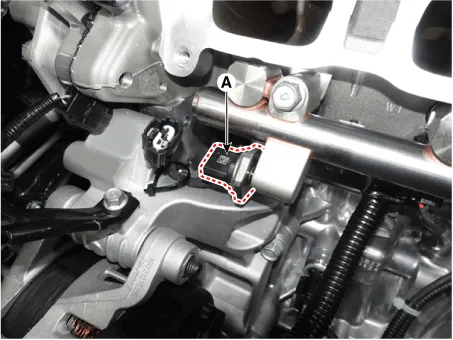

• Install the component with the specified torques.
• Note that internal damage may occur when the component is dropped. If the component has been dropped, inspect before installing.
1.Install in the reverse order of removal.
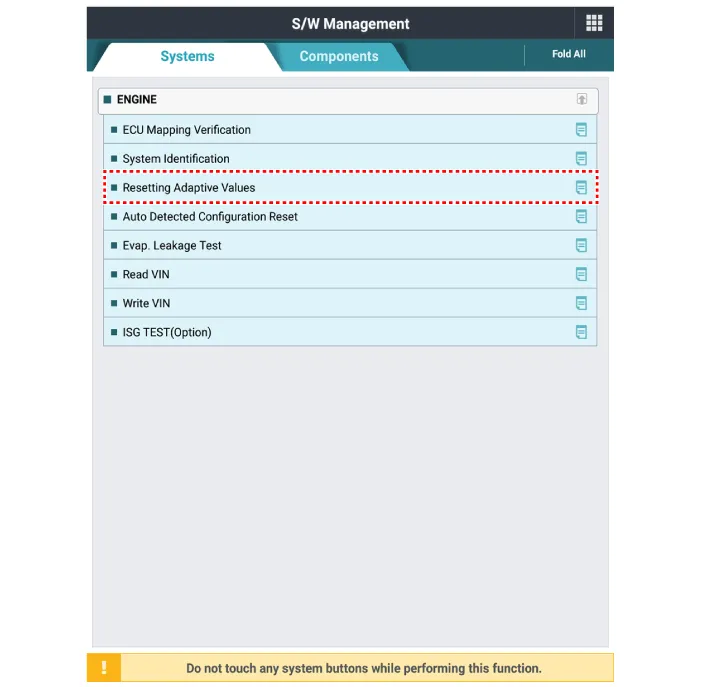
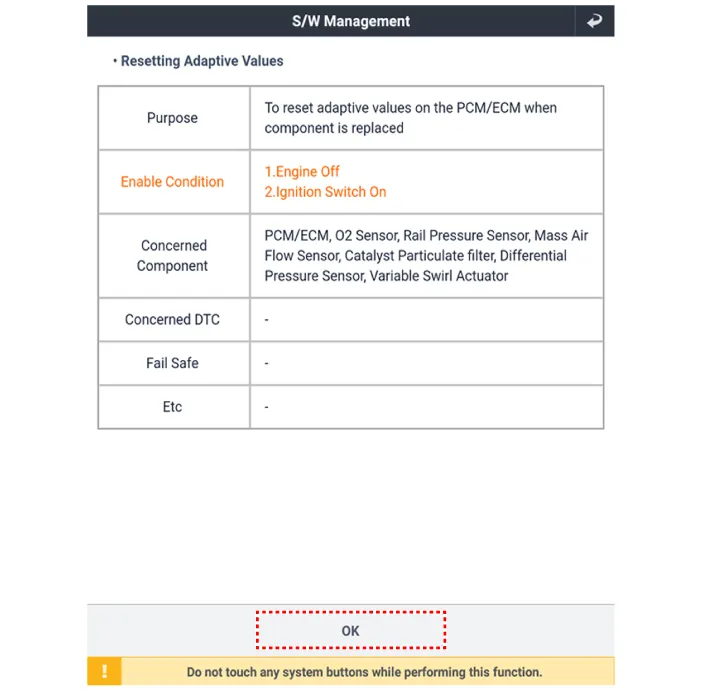
2.Reset the ECM adaptive values.
 Heated Oxygen Sensor (HO2S)
- Description
Heated Oxygen Sensor (HO2S) consists of zirconium and alumina and is
installed on upstream and downstream of the Warm up Catalytic Converter
(WCC).After it compares oxygen consist ...
 Accelerator Position Sensor (APS)
- Description
Accelerator Position Sensor (APS) is installed on the accelerator pedal
module and detects the rotation angle of the accelerator pedal. The APS
is one of the most important sensor ...
Other information:
Hyundai Tucson (NX4) 2022-2026 Service Manual: Steering Column Shroud Panel
- Component Location
1. Steering column shorud lower panel3. Steering column shorud upper panel [General cluster]2. Steering column shorud upper panel [Supervision cluster]
- Replacement
[Steering column shroud upper panel]
• When removing with a flat-tip screwdr ...
Hyundai Tucson (NX4) 2022-2026 Service Manual: Door Scuff Trim
- Component Location
1. Front door scuff trim2. Rear door scuff trim
- Replacement
[Front door scuff trim]
• When removing with a flat-tip screwdriver or remover, wrap protective tape around the tools to prevent damage to components.
• Put on gloves to prev ...
